Machine Embroidery vs Decorative Stitches
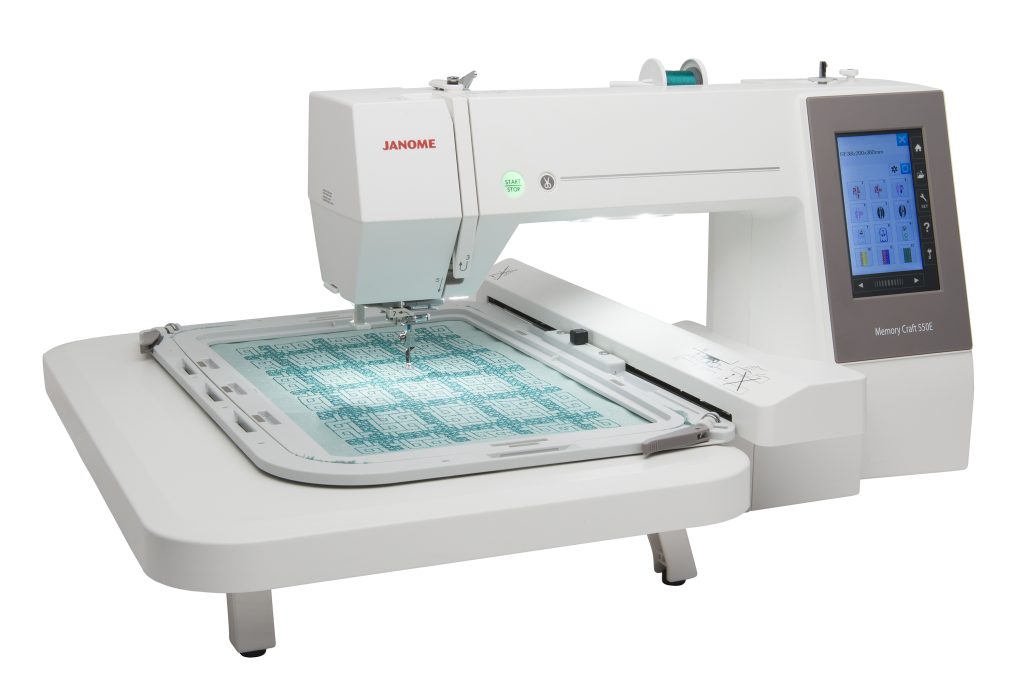
Do you ever wonder how to use machine embroidery threads? This post is intended to help you get started on this journey. Teachers, please note that we have a supply of machine embroidery threads available upon request, which we only send out if a teacher is using them in their sewing lab. If mistaken for all-purpose polyester threads, they can cause issues for your students and are not suitable for any seams that will be under stress.
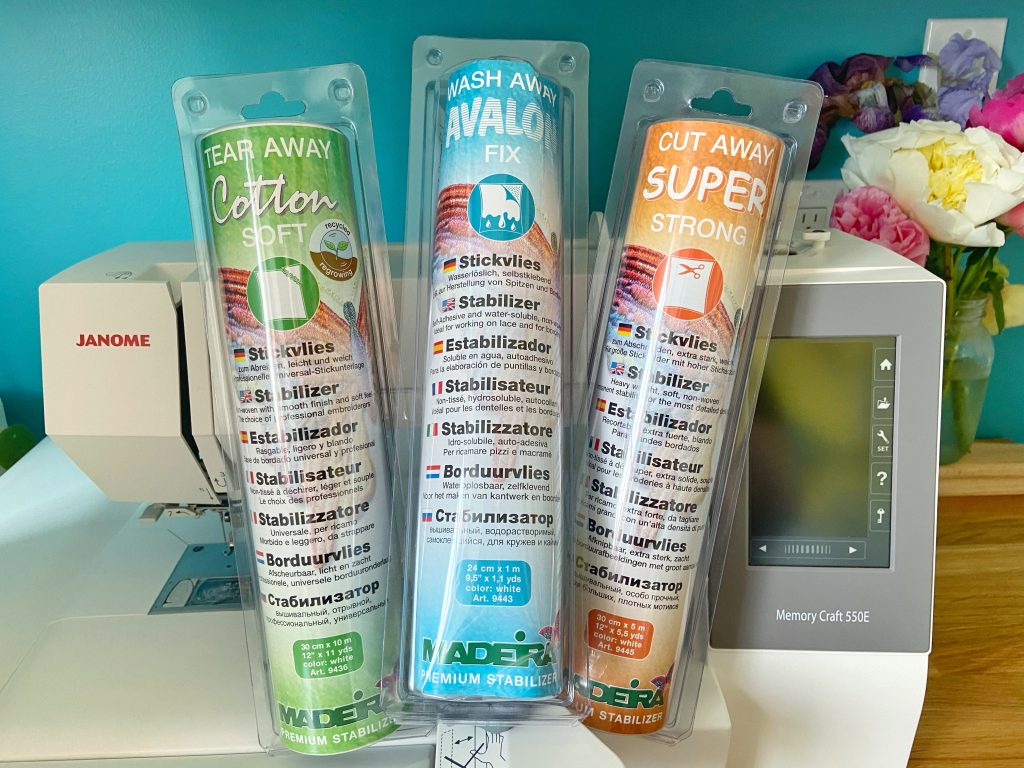
Stabilizer
When you are adding machine embroidery you should generally add a stabilizer to the back of your fabric – either a cutaway (for things which will get a lot washing) or tear away. In a pinch you can also use a lightweight interfacing. If you’re adding detail to a double turned hem or onto a ribbon, you likely won’t need a stabililizer.
If stitching on a fabric with a pile then add a wash-away stabilizer to the top
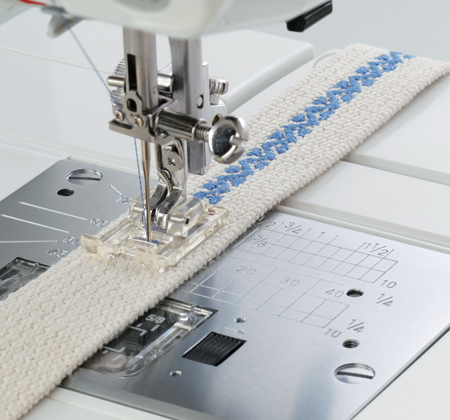
Use Your Best Foot!
Remember to take the time to change your machine foot before you stitch! Use the Janome F (pictured left) or F2 foot (Satin Stitch foot pictured below) for the best possible results.
Your tension may need to be adjusted to have the stitch how you want. Always sew a little test piece with a similar weight before moving on to your main project.
If the back won’t be seen you can use a 90wt or 100wt bobbin thread.
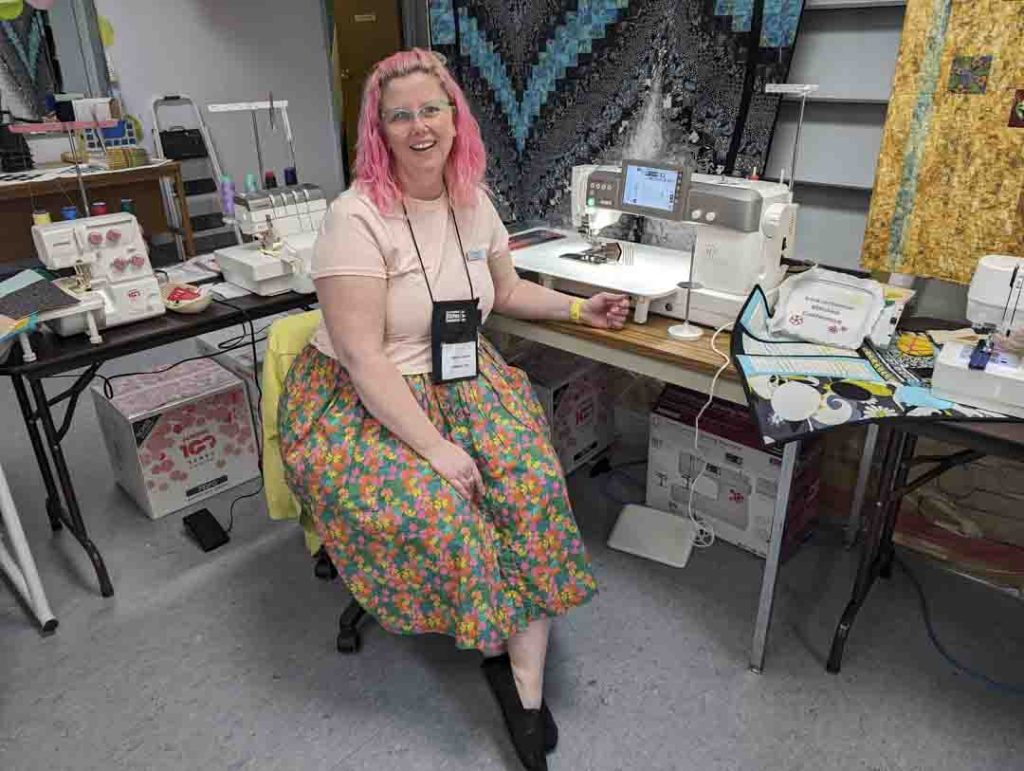
Words From Amanda
We asked Amanda Brown from Janome for her top tips on machine embroidery and she says:
“Go slower than your normal stitching speed and be sure to mark your project with lines that are easy to follow!


Responses